
Testing a Game Before Class
Test a game before using it with players. Demo mode is helpful, but the most realistic browser test uses the moderator dashboard and separate player tabs.
Recommended Test
- Sign in as a moderator.
- Select a test room.
- Open the game in Design or upload it through the Definitions toolbar.
- Save it and confirm Validation has no errors.
- Start the game from Execution.
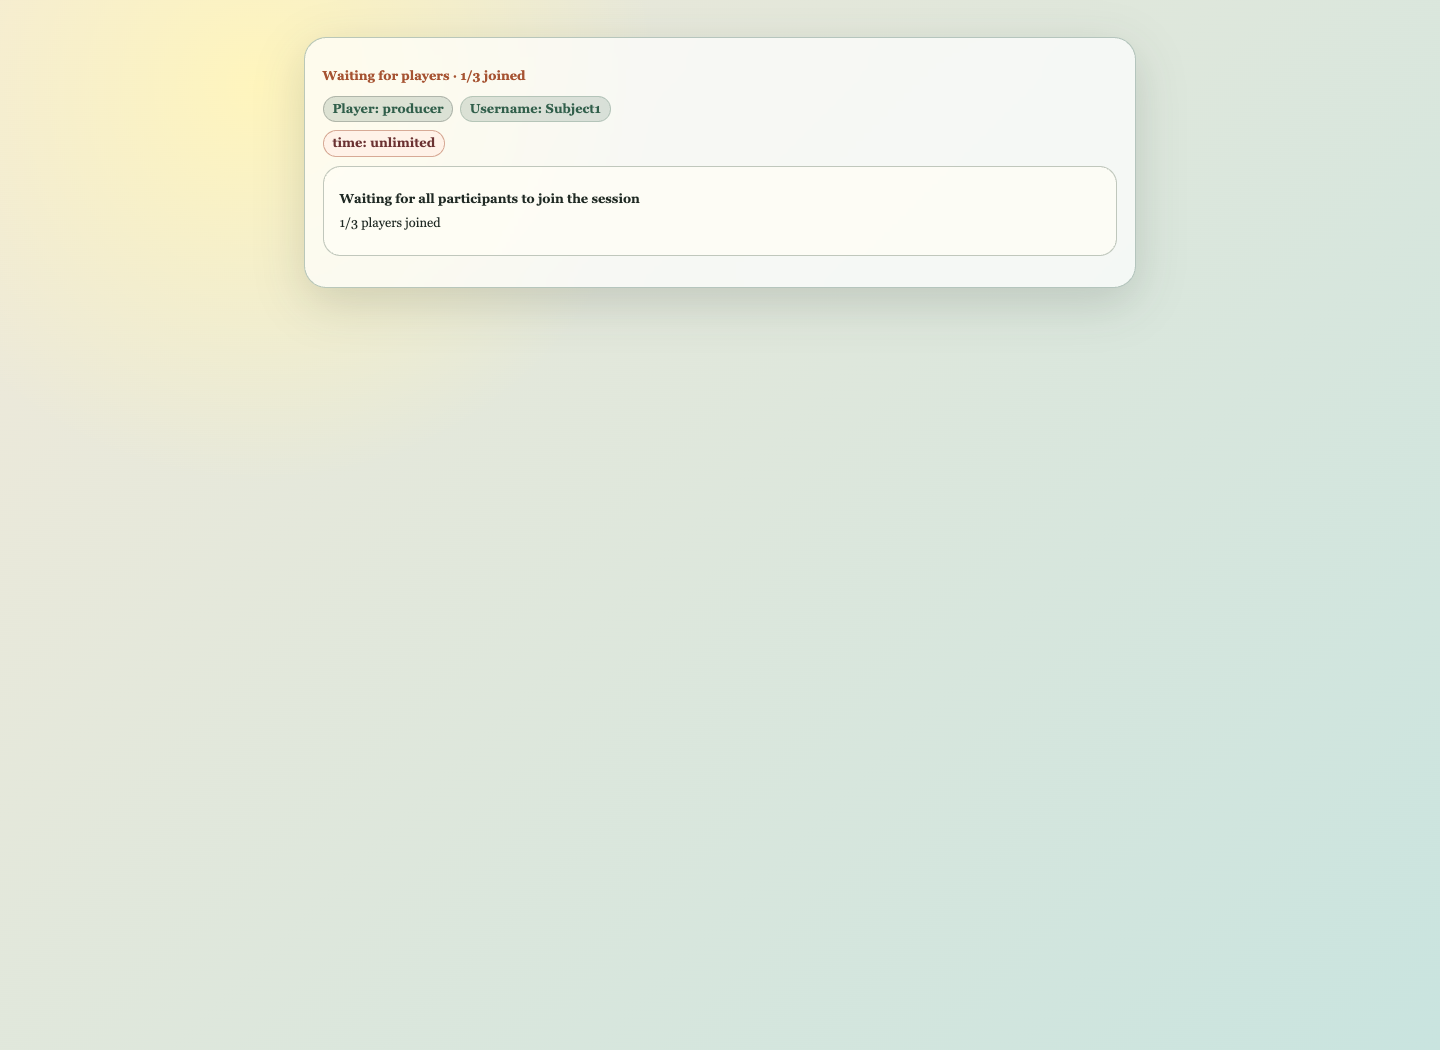
- Use Open test client beside the game in Rooms to open player tabs.
- Join enough players to fill the first session.
- Submit at least one normal decision path.
- Confirm the game advances.
- Confirm the moderator dashboard updates.
- Stop the test game when done.
Why Separate Tabs Matter
A real run has one browser client per player. Separate tabs expose issues that a one-tab Demo cannot show, such as:
- session fill behavior,
- duplicate player names,
- reconnect behavior,
- player-specific waiting screens,
- simultaneous player decisions,
- moderator active-session status.
What To Check
Check:
- players can open the room link,
- the intended game appears in the room,
- fixed-player games wait until the session is full,
- one-session games show content when expected,
- each player sees the correct player type and username,
- decision controls are visible,
- clicks or Enter submissions give feedback,
- invalid inputs stay correctable,
- the game advances after valid decisions,
- the game reaches a final state,
- Active Sessions shows sensible status,
- stopping the game prevents new joins.
For every game type, verify that runtime presentation matches Layout and that every Page reference resolves to a value, Choice, or Image when that Stage is reached.
When a Stage has several Pages, test at least two Player Types when their Audience rules differ. Confirm that Active content takes priority over Observe and Glance content and that a missing rule remains Passive.
Testing Uploaded Games
Uploaded games can differ from built-in reference games. Test the actual uploaded file that will be used in class.
If a game has multiple paths, test at least one typical path. For complex games, also test one path with a different player acting first or a different choice outcome.
Using Demo During Testing
Use Demo when you want a quick visual check of reference-game behavior.
Do not rely on Demo alone for:
- uploaded games,
- final classroom readiness,
- testing multiple real browser clients,
- verifying room links.
After Testing
Stop test games that should not remain visible to players. If you used a separate test room, leave the live class room clean until you are ready to start the real run.